Thinking about making your own tunes but don’t know where to start? It’s easier than you might think to get into jam studio music creation. You don’t need a fancy studio or years of training. This guide is here to help you figure out the basics and get your creative juices flowing. We’ll cover the gear, the software, and how to actually start making some noise. Let’s get this jam studio music journey going!
Key Takeaways
- Start simple with jam studio music by exploring free software like GarageBand or mobile apps to get a feel for the process.
- Understand that a Digital Audio Workstation (DAW) is your main hub for creating jam studio music, where you’ll record, arrange, and mix.
- You don’t need expensive gear to begin; affordable MIDI controllers and audio interfaces can connect real instruments and let you play virtual ones in your jam studio music setup.
- Experimenting with plugins, virtual instruments, loops, and samples is key to developing unique sounds for your jam studio music.
- Consistent practice and trusting your own creative instincts are more important than having the most advanced equipment for making jam studio music.
Getting Started With Your Jam Studio Music Journey
Embracing the Digital Soundscape
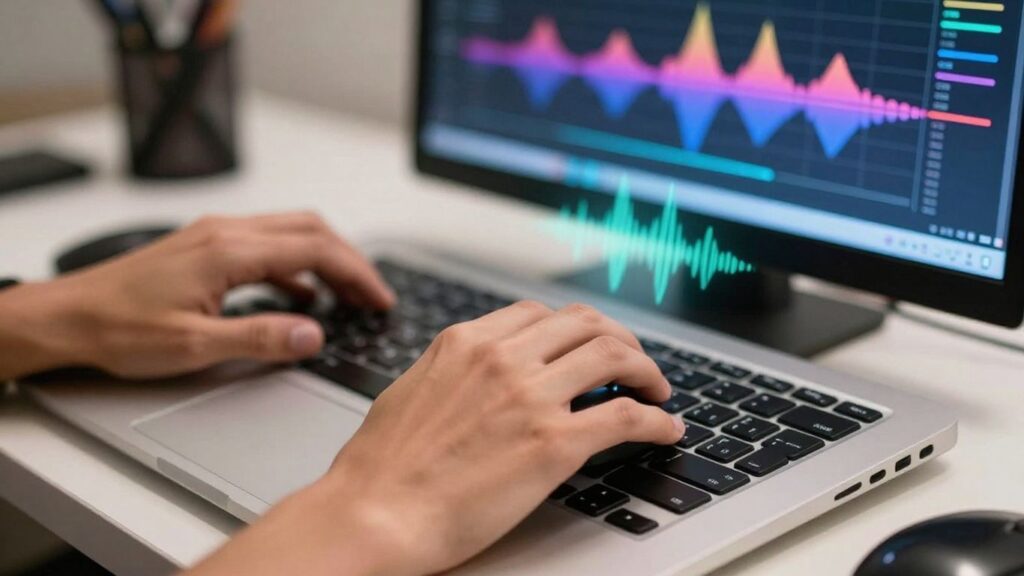
Music creation has changed a lot in the last few years. You don’t need walls full of gear or fancy hardware to get creative. Now, all you need is a basic laptop, maybe even just a mobile or a tablet, and you’ve got the tools to create something decent. Digital tools make it easy to experiment and mess around with sounds—even if you don’t know where to begin. Don’t stress about inspiration arriving like lightning. Just sitting down and having a go is usually the hardest part. Once that’s done, the ideas start to flow, sometimes when you least expect it.
- Absolutely no need to buy expensive equipment straight away
- Use what you’ve already got (laptop, tablet, even your phone)
- Don’t worry about making mistakes; you’ll learn faster by playing
Feeling stuck is normal when starting music production. The trick? Just start. Pick up your device, click on a beat, or tap out a melody—fun is more important than perfection at first.
Your First Steps into Jam Studio Music
Taking the first step means making noise, not waiting for the perfect moment. The best way to learn is by doing:
- Open up a basic music making app—GarageBand and BandLab are solid picks.
- Play with any free loops or samples for instant results.
- Try recording your voice or whatever’s handy, even if it feels silly.
You’ll quickly learn that music production is about doing, not just planning. Spending most of your time making actual music—even nonsense jams—will teach you faster than tutorials ever will.
Essential Tools for Aspiring Producers
You probably think you’ll need a ton of gear. Luckily, it’s much simpler. Here’s a basic list for beginners:
- Computer, tablet, or phone (anything that can run music software)
- Free DAW (Digital Audio Workstation) like GarageBand or Cakewalk
- Cheap headphones or speakers
- A tiny MIDI keyboard (optional, for playing melodies)
| Tool | Typical Cost (AUD) | Starter Suggestions |
|---|---|---|
| Computer/Tablet/Phone | Already owned | Any regular device |
| Headphones | $20–$100 | JBL Tune, Sony basic |
| Free Music Software | $0 | GarageBand, Cakewalk |
| MIDI Keyboard (Optional) | $80–$150 | Akai MPK Mini, Arturia Minilab |
None of these are mandatory—apart from something to run the software. Begin with what you have, and let your music ideas guide you from there. Becoming comfortable with basic gear can give you hours of fun and growth before you even think about upgrading.
Choosing Your Jam Studio Music Software
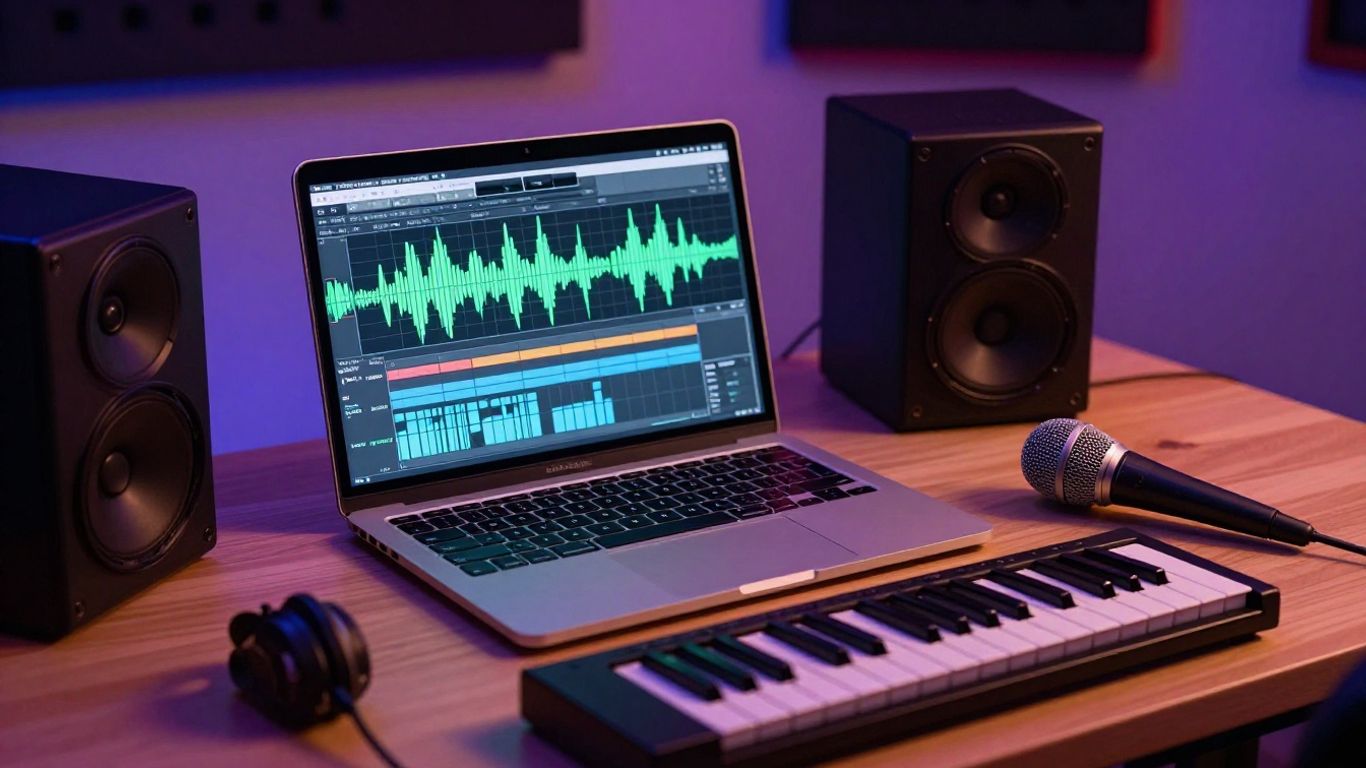
So, you’re ready to start making some noise, but where do you actually begin? The heart of your digital music-making setup is the Digital Audio Workstation, or DAW. Think of it as your virtual studio space. It’s where you’ll record, arrange, mix, and generally bring your musical ideas to life. It’s where all your virtual instruments, effects, and plugins will hang out.
Understanding Digital Audio Workstations (DAWs)
Choosing a DAW can feel a bit like picking a favourite flavour of ice cream – there are heaps of options, and they all do a similar job, but they have their own unique quirks. They all let you record audio and arrange MIDI notes, but the way they look and feel can be pretty different. Some are designed to mimic traditional studio gear, while others are more streamlined. The good news is, most of them do the core stuff really well, so it often comes down to personal preference and what feels right for you.
GarageBand: The Accessible Entry Point
If you’ve got a Mac, iPhone, or iPad, you’re in luck because GarageBand is free. And honestly, it’s a ripper to start with. It’s super easy to get the hang of, even if you’ve never touched music software before. It comes packed with a bunch of built-in instruments, loops, and effects, so you can start making tunes straight away. Don’t let the ‘beginner’ tag fool you though; plenty of tunes you hear on the radio have had a bit of GarageBand magic sprinkled on them. It’s got features like pitch correction and automated drumming, and it even plays nicely with more advanced plugins.
Exploring Advanced DAWs for Jam Studio Music
Once you’ve got a feel for things, you might want to explore some of the more professional-level DAWs. These often offer deeper control and more complex features. Ableton Live is a popular choice, known for its flexible workflow, especially for electronic music and live performance. It has a bit of a learning curve, but there’s a massive community and tons of tutorials out there to help you out. Another one is Logic Pro, which is Apple’s more advanced offering, building on GarageBand’s foundation. Then there’s FL Studio, which is a favourite for beatmakers, and Pro Tools, which is a long-standing industry standard, though it can be a bit more complex and pricey for beginners. Each has its own strengths, so it’s worth looking into a few to see which one clicks with your creative style.
| DAW Name | Typical Price (AUD) | Best For |
|---|---|---|
| GarageBand | Free | Beginners, Apple users |
| Ableton Live | $499 – $1,199 | Electronic music, live performance, loops |
| Logic Pro | $299 | Songwriting, production, Mac users |
| FL Studio | $149 – $899 | Beatmaking, electronic music |
| Pro Tools | $399 (subscription) | Professional recording, mixing |
Building Your Jam Studio Music Setup
Alright, so you’ve got your software sorted, and you’re itching to make some noise. But how do you actually get sounds into your computer, and how do you play them? That’s where your setup comes in. You don’t need a million fancy bits of gear to get started, honestly. Most of what you need can be picked up without emptying your wallet.
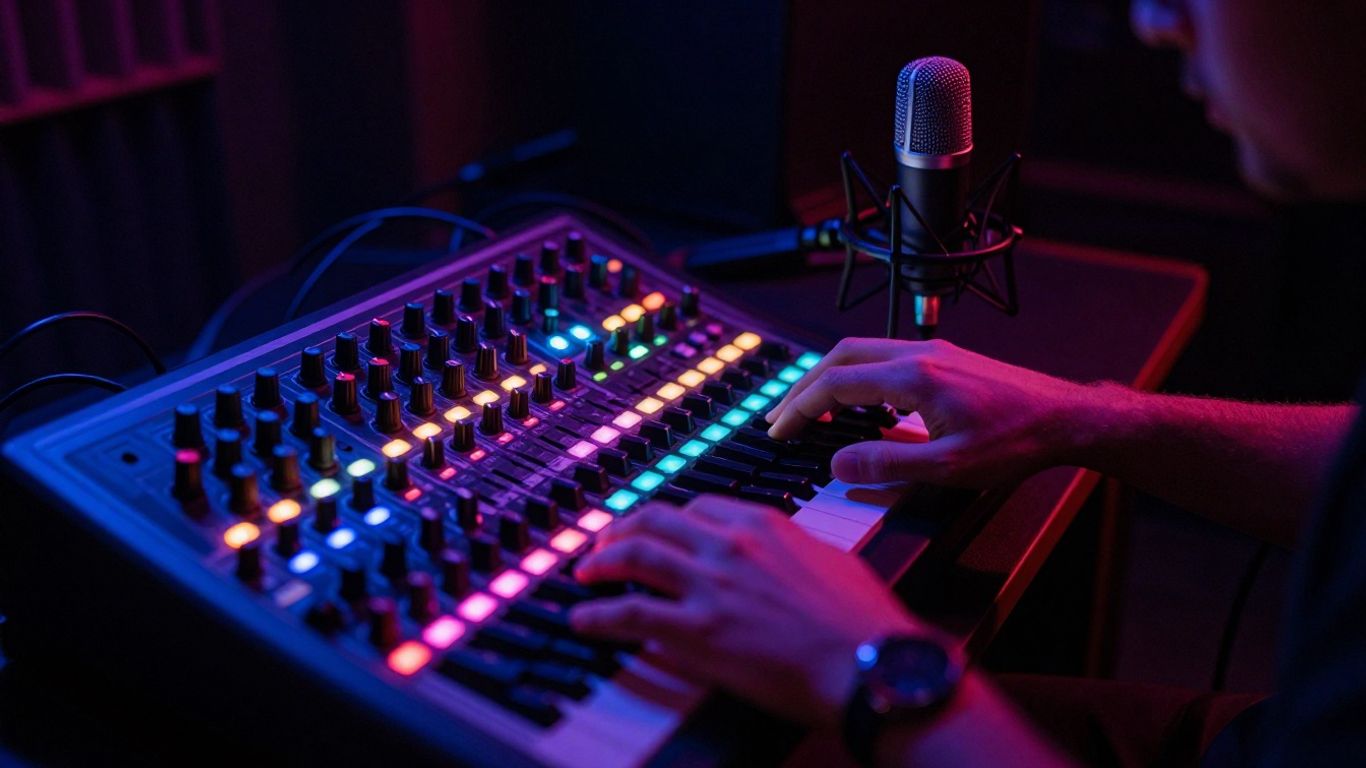
The Role of MIDI Controllers
Think of a MIDI controller as your digital instrument. It doesn’t make sound on its own, but it tells your computer what notes to play, how loud, and for how long. Using a touchscreen keyboard on your computer or phone can be a bit fiddly, right? A MIDI controller gives you actual keys, pads, or knobs to play with. This makes laying down melodies and beats feel way more natural. You can get super basic ones with just a few keys for under a hundred bucks, or go for something with more pads and faders if you’re feeling fancy. It’s a game-changer for playing virtual instruments.
Connecting Real Instruments to Your Digital Studio
So, what if you’ve got a guitar gathering dust, or a keyboard you actually own? You’ll want to get that sound into your computer. For microphones (like if you want to sing or record an acoustic guitar), you’ll need an audio interface. This little box takes the microphone’s signal and turns it into something your computer understands. For instruments like guitars or basses, you can often plug them straight into an interface, or sometimes even directly into your computer with a special cable (like an iRig). It opens up a whole world of recording your own performances.
Here’s a quick rundown of what you might need:
- Audio Interface: The bridge between your mics/instruments and your computer.
- Microphone: To capture vocals or acoustic sounds.
- Cables: To connect everything up (XLR for mics, instrument cables for guitars, USB for interfaces and MIDI controllers).
- MIDI Controller: For playing virtual instruments and controlling software.
Affordable Hardware for Jam Studio Music
Don’t let the shiny, expensive gear you see online psych you out. You can get a lot done with budget-friendly options. For instance, an IK Multimedia iRig 2 can get you started plugging a guitar or bass into your phone or computer for around $40-$50. For MIDI controllers, something like an Arturia MiniLab or a Novation Launchkey Mini can be found for about $100-$150 and often come bundled with useful software. These bits of kit are more than capable of getting your ideas down without costing an arm and a leg.
You don’t need to spend thousands to start making music. Focus on getting the core pieces that let you input sound and control your software. You can always upgrade later as you figure out what you really need and what you enjoy using the most. Start simple, and build from there.
It’s all about finding the right balance for your budget and what you want to achieve. The goal is to get your ideas out of your head and into your digital jam space without too much fuss.
Crafting Sounds in Your Jam Studio
There’s nothing quite like experimenting with sounds for the first time in your home studio. It’s where the fun really begins and your ideas start to become real, one odd noise at a time. Whether you’ve got every plugin under the sun or are just getting your head around virtual instruments, here’s what you should know about shaping your music in the digital world.
The Power of Plugins and Virtual Instruments
When you’re starting out, plugins and virtual instruments can seem a bit mysterious, but they’re basically digital tools that add sounds and effects to your tracks.
- Plugins come in two main flavours: instruments (they make the sound) and effects (they change the sound).
- Most DAWs give you a few basic ones, but as you get curious, you’ll find heaps of third-party options online.
- Virtual instruments cover everything from classic pianos to wild synths and even strange noises, so you’re never short of creative juice.
| Plugin Type | Common Use | Starter Examples |
|---|---|---|
| Synthesiser | Making electronic tones | Analog Lab Intro, Pigments |
| Drum Sampler | Building beats | GarageBand Drummer |
| Effects (Reverb) | Adding space/depth | T-Racks, Ableton Reverb |
There’s a genuine thrill in trying out something unexpected—sometimes, those wobbly sounds end up being a song’s best bit.
Experimenting with Sound Design
Sound design is just a fancy term for making your own new sounds. It’s a fun part of music-making, and you don’t need a degree or weird gear to start.
- Twist the knobs: Tinker with presets in your synths and effects until you stumble onto something unique.
- Layer and mess with samples: Stack different instrument sounds, pitch them up or down, or throw on a wild effect.
- Use automation: This is when you let the software change your plugin settings as your song plays, for things like a growing filter or swelling volume.
A lot of beginners get hung up on making things sound ‘professional’ right away. The reality is the process is messy, sometimes wonky, and that’s often where some of the best ideas show up.
If you set small goals, like making one cool sound or finishing one loop each day, it’s surprising how quickly your skills improve. Following structured practice tips really makes a difference in your progress.
Utilising Loops and Samples
Loops and samples take away the blank page problem—you’ve got ready-to-go musical snippets that can glue together a track or kickstart a new idea. Used smartly, they can sound original, not cookie-cutter.
- Drag in a drum loop to build a groove instantly.
- Chop vocals or instruments for your own hooks or drops.
- Combine loops with your own recordings for a blend that feels fresh.
Remember, there’s no rulebook here. Some songs on the radio are sample-heavy. Others are 100% built from scratch. Messing around with both keeps things interesting, and you might stumble on a groove that just works.
Developing Your Jam Studio Music Skills
So you’ve got your gear set up and you’re ready to start making some noise. That’s the exciting part! But honestly, getting good at making music in your jam studio isn’t just about having the right equipment. It’s a bit like learning to cook – you can have all the fancy gadgets, but you still need to learn the techniques, right? The real magic happens when you combine your tools with consistent effort and a willingness to learn.
The Importance of Practice and Play
Look, nobody becomes a music maestro overnight. It takes time, and frankly, a lot of just messing around. Think of it like this: you wouldn’t expect to run a marathon after one jog around the block. Making music is the same. The more you actually do it, the better you’ll get. Don’t just watch tutorials all day – although they can be helpful – you’ve got to get your hands dirty.
Here’s a simple breakdown of how to build that practice habit:
- Just Make Stuff: Seriously, the best way to learn is by doing. Finish songs, even if you think they’re not perfect. Completing tracks is a skill in itself.
- Keep it Fun: If it feels like a chore, you’re less likely to stick with it. Find ways to enjoy the process, experiment, and play around.
- Be Regular: Try to dedicate some time each week, even if it’s just an hour or two. Consistency is key. Aim for a few sessions a week if you can manage it.
The temptation to constantly seek out new plugins or gear can be strong, but often, the biggest gains come from mastering the tools you already have. Spending time getting to know your DAW inside and out will pay off more than jumping between a dozen different software options.
Learning Through Doing
It’s easy to get caught up in the theory or watching endless YouTube videos. While that knowledge is useful, it doesn’t replace actually creating music. You might read about compression for hours, but you won’t truly understand it until you’ve used it on your own tracks and heard the results. Try to link what you’re learning directly to your music-making sessions. If you’re learning about a new technique, try applying it to a song you’re currently working on. This hands-on approach helps solidify your understanding and builds practical skills much faster than passive learning.
Trusting Your Artistic Instincts
There’s a ton of advice out there about how music should be made. While some tips are helpful, especially when you’re starting, don’t let them stifle your own creativity. Your ears are your most important tool. If something sounds good to you, even if it breaks a ‘rule’, go with it. Developing your own taste and sound is a massive part of becoming a producer. Don’t be afraid to experiment and trust your gut feeling about what works. You might surprise yourself with what you come up with when you stop worrying about doing things the ‘right’ way and just focus on making music you enjoy. For more on developing a consistent creative routine, check out quantity over quality.
Collaborating and Sharing Your Jam Studio Creations
When you’ve pulled all-nighters getting your track just right, sharing it and teaming up with others can push your Jam Studio music even further. Collaboration isn’t just about adding more hands to the project—it’s a way to bring fresh ideas and energy to your sound. Whether you’re working with mates or virtually connecting across the globe, the tools today make swapping files and inspiration easier than ever.
Remote Collaboration Tools
If you’re jamming from home but want to work with others, there are plenty of options:
- Cloud-based DAWs let both users tweak the same session. No more sending endless emails back and forth.
- File-sharing services (like Google Drive or Dropbox) are game changers for sending stems, mixes, or entire projects.
- Real-time apps (such as Zoom or Discord) make quick brainstorming or live demo feedback straightforward.
Working with these tools means you don’t have to wait days for a reply or worry about versioning chaos.
| Tool | Real-Time? | Best Use |
|---|---|---|
| Splice | No | Swapping samples |
| Soundtrap | Yes | Full-track work |
| Google Drive | No | Large files/stems |
| Discord | Yes | Quick feedback |
Exporting and Sharing Your Music
Getting your finished song in front of other ears is exciting (and often nerve-wracking):
- Choose your export settings: Most DAWs let you export in .WAV for higher quality or .MP3 for smaller file sizes.
- Listen to your track on a few different speakers or headphones. Small tweaks make a big difference.
- Create an artist profile on streaming platforms or distribution sites. It’s straightforward—upload, add your song details, and you’re away.
- Share with friends or in music producer groups for feedback before a wide release.
Hitting that ‘publish’ button always feels risky, but letting your music out into the world opens the door for real-world feedback and connections with other producers.
Building a Music Habit
Consistency matters more than perfection when it comes to jam studio creativity. You get better by showing up often, not by waiting for flashes of inspiration. Here are a few tips to turn sharing and collaborating into a habit:
- Set a realistic schedule for finishing and sharing tracks—weekly, monthly, whatever fits your life.
- Start small: share works-in-progress, not just fully polished tunes.
- Use feedback from collabs and listeners to shape your next sessions.
- Embrace tools that make the process easier, like online Jam Studio creation shortcuts, which can actually cut setup time and get you straight to the fun stuff.
In the end, working with others and putting your music out there is about connection, not perfection. The more often you do it, the more comfortable it becomes—and that’s often when the most interesting ideas pop up.
Keep Making Noise!
So, that’s pretty much it. You’ve got the basics to get started with Jam Studio. Remember, the most important thing is just to have a go. Don’t get bogged down trying to make everything perfect straight away. Grab a loop, mess with a synth, record yourself singing off-key – whatever feels right. The more you play around, the more you’ll figure out what sounds good to you. It’s a journey, and honestly, the best way to learn is by doing. So get stuck in, have fun, and see what tunes you can cook up. Happy creating!
Frequently Asked Questions
What is the easiest way to start making music in a jam studio?
The simplest way to begin is by using free or built-in software like GarageBand on a Mac, iPhone, or iPad. All you need is your device and some headphones. Start by playing around with loops, sounds, and basic instruments to get a feel for how things work.
Do I need expensive equipment to make music at home?
No, you don’t need to spend a lot of money. Many people start with just a laptop or tablet. If you want to add more, a basic MIDI keyboard or a small audio interface can be found for under $100. These tools help you play and record music, but you can still have fun and learn with just your computer or phone.
What is a DAW, and which one should I use as a beginner?
A DAW, or Digital Audio Workstation, is software for recording, editing, and making music. For beginners, GarageBand is a great choice because it’s simple and free for Apple users. If you want something different, programs like BandLab or Soundtrap work online and are easy to use too.
Can I use real instruments with my jam studio setup?
Yes, you can! You just need a small audio interface, which lets you plug in things like guitars or microphones to your computer. There are affordable options like iRig that make this easy. Once connected, you can record and mix your real instrument sounds with digital ones.
How do I learn to make better music in my jam studio?
The best way to get better is to practice often. Try making short songs, experiment with different sounds, and don’t be afraid to make mistakes. Watch free tutorial videos online, and listen to lots of music for ideas. Over time, you’ll get more confident and creative.
How can I share my music or work with friends online?
Many DAWs let you export your music to share with others. You can send your songs as audio files or upload them to sites like SoundCloud or YouTube. If you want to work with friends, try using online tools like BandLab or Soundtrap, which let people work together on the same song from different places.