Crikey, winter’s here and those power bills can really sting, eh? Keeping warm without spending an arm and a leg is a big deal for us Aussies. Our homes aren’t always built for the cold, so finding cheap ways to heat a room is something we all think about. Don’t stress, though, because I’ve put together some top tips to help you stay toasty without blowing your budget. Let’s get stuck in!
Key Takeaways
- Using your reverse-cycle air con is usually the most budget-friendly way to heat a room.
- Good insulation and blocking draughts are super important for keeping heat inside your place.
- Simple things like hot water bottles and thick curtains can make a big difference for not much cash.
- Don’t forget about your ceiling fan; running it in reverse can push warm air down.
- Investing in things like thermal film for windows or pelmet boxes can help stop heat from escaping.
1. Air Conditioning
Okay, so air conditioning might seem like a summer thing, but hear me out. Reverse cycle air conditioners are actually pretty good for heating, and can be cheaper than you think, especially compared to those old-school electric heaters. But there are a few things to keep in mind to make sure you’re not just throwing money out the window.
First off, the upfront cost can be a bit of a shock. You’re looking at a fair chunk of change for the unit itself, plus installation. But, if you use it for both heating and cooling, it can even out in the long run. Plus, you get the added bonus of being cool as a cucumber in summer.
Running a reverse cycle aircon all year round can actually be cheaper than running a standard electric heater for just a few months in winter. Worth thinking about, eh?
Here’s a few things to keep in mind:
- Set it right: Don’t crank it up to 28°C thinking it’ll heat the place faster. It just makes the system work harder. Aim for around 20–22°C – that’s the sweet spot for comfort and saving some dosh.
- Use the right mode: Make sure you’re using the ‘heat’ mode, not ‘auto’. Otherwise, it might switch back to cooling when it gets a bit milder, which is just a waste.
- Time it: No need to have it running all day and night. Use a timer or a smart controller to switch it on just before you get home or wake up. That way, you’re not heating an empty house.
Also, remember to let the sunshine in during the day to naturally warm the place up, and then close the blinds or curtains at night to keep the heat in. Every little bit helps!
Think about getting air conditioning maintenance done regularly. A well-maintained system runs more efficiently, saving you money in the long run. It’s like getting a service for your car – keeps everything running smoothly.
2. Insulation
Okay, so insulation might not be the cheapest upfront, but trust me, it’s an investment that pays off big time in the long run. Think of it like this: you’re plugging all the holes in your house where heat is escaping.
Good insulation keeps the heat in during winter and out during summer, meaning you’re not constantly blasting the heater or air con. It’s a win-win for your comfort and your wallet. Plus, it can add value to your home if you ever decide to sell.
Here’s a rough idea of where you can save with proper insulation:
- Ceiling: Up to 45% on heating costs. That’s huge!
- Walls: Around 25% – not bad at all.
- Floors: Maybe 20%. Every little bit helps, right?
I remember when we finally got around to insulating our place. Before, the living room was always freezing, no matter how high we cranked the heater. Now, it’s actually cosy! And the power bills? Way lower. Seriously, don’t underestimate the power of good insulation. It’s one of those things you do once and then just reap the benefits for years to come. If you are looking for frugal living tips, this is a great place to start.
While it can be a bit of an investment upfront, think of it as a long-term saving. You’ll be surprised how much less you spend on heating and cooling once your house is properly insulated. Plus, you’ll be doing your bit for the environment by using less energy. It’s a no-brainer, really.
3. Draught Sealing
Okay, so this one’s pretty straightforward, but it can make a huge difference. Basically, you want to stop all that lovely warm air from escaping your house, and all that chilly air from sneaking in. Think of it like plugging holes in a leaky bucket – you’re keeping all the heat where it should be. Sealing air leaks in your home around windows and doors can really boost your comfort levels and cut down on those crazy heating bills.
I remember my Nan used to make these things called ‘door snakes’ – basically long fabric tubes filled with rice or sand – to block the gaps under the doors. They actually worked a treat! You can buy fancy ones these days, but the homemade ones have that extra bit of charm, you know?
Here’s a few spots to check for draughts:
- Doors (especially the gaps at the bottom and sides)
- Windows (check the seals – they can get old and crack)
- Skirting boards (those little gaps can let in a surprising amount of cold air)
- Around pipes and cables that go through walls
- Unused fireplaces
One easy way to find draughts is to hold a lit candle or incense stick near potential problem areas. If the flame flickers, you’ve found a leak! Just be careful not to set anything on fire, yeah?
I reckon draught sealing is one of those things that everyone should do before winter hits. It’s cheap, it’s easy, and it makes a noticeable difference to how warm your house feels. Plus, you’re saving money on your energy bills – win-win!
So, what can you use to seal up those gaps? Here’s a few ideas:
- Weather stripping: This is great for windows and doors. It’s basically a sticky foam or rubber strip that you stick around the edges to create a seal.
- Gap filler: This is good for filling larger gaps around pipes and cables. You can get it in a tube and squeeze it into the gap.
- Door snakes: As I mentioned before, these are great for blocking gaps under doors. You can buy them or make your own.
- Caulk: This is a sealant that you can use to fill cracks in walls and around windows. It’s waterproof and paintable, so it’s a good option for areas that are exposed to the elements.
Give it a go – you might be surprised at how much warmer your house feels!
4. Ceiling Fan
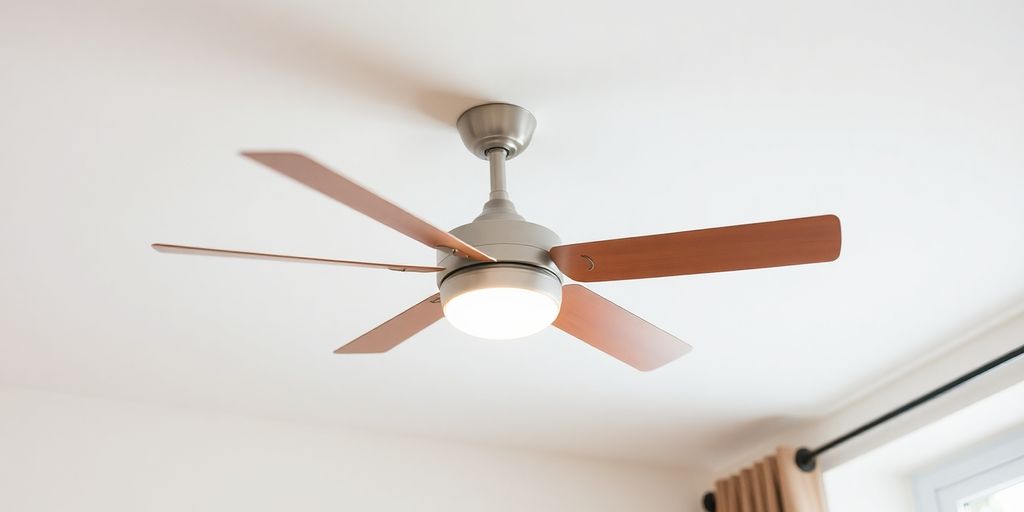
Okay, so you might be thinking, ‘Ceiling fan? That’s for summer, mate!’ But hear me out. A ceiling fan can actually help you heat your room more efficiently in winter. It’s all about understanding how heat moves.
Hot air rises, right? So, all that lovely warm air from your heater ends up congregating near the ceiling, doing absolutely nothing for you down where you’re actually sitting. That’s where the fan comes in. By reversing the direction of your ceiling fan, you can push that warm air back down, circulating it around the room. It’s like giving your heater a helping hand.
Think of it this way: you’re not creating heat with the fan, you’re just redistributing it. It’s a simple trick, but it can make a noticeable difference to how warm your room feels, and potentially save you some dosh on your heating bill.
Here’s a few things to keep in mind:
- Check the direction: Most fans have a switch (sometimes on the motor itself, sometimes on the remote) to change the direction. In winter, you want the fan to rotate clockwise at a low speed. This gently pushes the warm air down without creating a chilly breeze. If you’re looking for affordable homes, this tip can help keep costs down.
- Use it in conjunction with a heater: The fan isn’t going to magically heat your room on its own. It works best when used with a heater, helping to spread the warmth more evenly.
- Experiment with the speed: You don’t want the fan going full blast. A low, gentle speed is all you need to circulate the air effectively. Too fast, and you’ll just create a draught.
Basically, reversing your ceiling fan is a super simple, low-cost way to improve the efficiency of your heating. Give it a go – you might be surprised at the difference it makes!
5. Hot Water Bottles
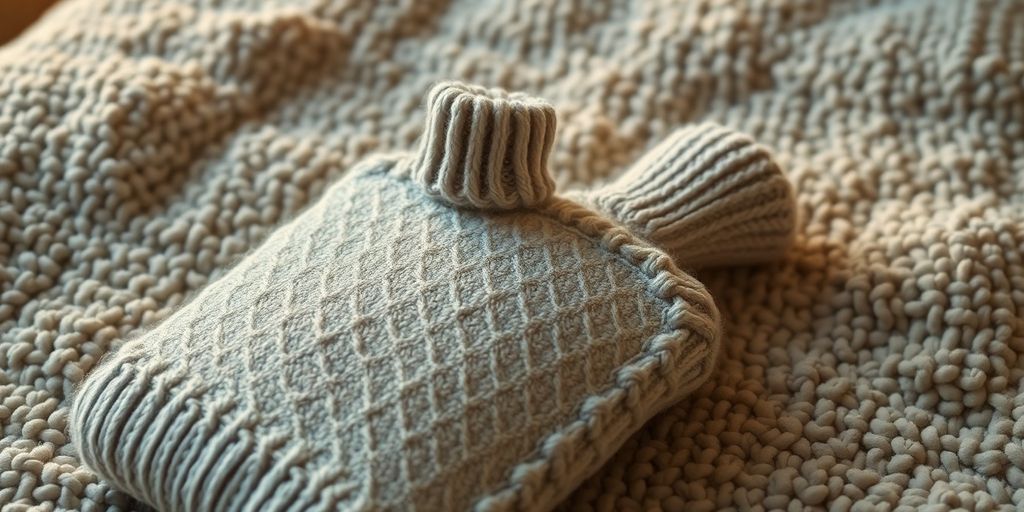
Okay, so maybe it sounds a bit old-school, but hear me out. Hot water bottles are a seriously underrated way to keep warm, especially when you’re trying to save a few bucks on heating. They’re cheap as chips to buy, and all you need is hot water – which you’re probably already heating up for tea or coffee anyway!
They’re perfect for snuggling up on the couch or pre-heating your bed before you jump in. Plus, there’s something super comforting about holding a warm bottle on a chilly night. It’s like a hug without the awkward small talk.
Here’s a few reasons why I reckon hot water bottles are a winner:
- They’re portable. Take them anywhere in the house.
- They’re safe (as long as you don’t fill them with boiling water, obviously!).
- They’re reusable, unlike those disposable heat packs.
I remember my Nan swearing by hot water bottles. She’d have one tucked into her bed every night, even in the middle of summer! She always said it helped her sleep better. Maybe she was onto something.
And speaking of hot water, it’s worth checking the temperature of your hot water system. You want it hot enough to avoid any nasty bacteria, but not so hot that you’re wasting energy. Apparently, 60 degrees Celsius is the sweet spot for storage systems. Just a thought!
6. Thermal Film
Okay, so thermal film might sound a bit space-age, but it’s actually a pretty simple and effective way to insulate your windows on the cheap. Basically, it’s a thin, transparent film you stick to the inside of your window panes. It creates an extra layer of insulation, helping to keep the heat in during winter and the heat out during summer. Think of it like a budget version of double glazing.
It’s a surprisingly effective way to reduce heat loss through your windows.
I tried it out last winter in my old place, and I reckon it made a noticeable difference. It’s not going to perform miracles, but every little bit helps, right?
Here’s a few things to keep in mind:
- Application is key: Take your time and follow the instructions carefully. Bubbles and creases will reduce its effectiveness and look terrible. A squeegee is your best mate here.
- Choose the right film: There are different types of thermal film available, so pick one that suits your needs. Some are designed for heat retention, while others are better for blocking UV rays.
- Consider the cost: While thermal film is relatively cheap, the cost can add up if you have a lot of windows. Shop around for the best deals. You might even find some good investment properties under $650K that already have it installed!
Honestly, I was sceptical at first, but after using thermal film, I’m a convert. It’s a cheap and easy way to improve your home’s insulation and save a few bucks on your energy bill. Plus, it’s a lot less hassle than replacing all your windows.
And hey, while you’re at it, remember to open your curtains during the day to let the sunshine in and close them at night to trap the warmth. Every little bit counts when you’re trying to save on heating costs!
7. Pelmet Boxes
Okay, so pelmet boxes might sound a bit fancy, but they’re actually a pretty simple way to keep your room warmer. Basically, they’re decorative covers that go above your curtains. But they do more than just look nice – they stop warm air from escaping out the top of your windows. It’s like putting a little hat on your window to keep the heat in.
Pelmet boxes trap rising warm air, preventing it from escaping through the top of your curtains and windows.
Think of it like this: warm air rises. Without a pelmet box, that warm air just keeps going, right up and out through any gaps above your curtains. A pelmet box creates a barrier, forcing the warm air back into the room. It’s a small change that can make a noticeable difference, especially in older homes with less-than-perfect windows.
I remember when my mate, Dave, put pelmet boxes in his old place. He was complaining about how much his heating bills were costing him. After installing them, he reckoned he felt a real difference. Said the room felt warmer, and his bills went down a bit. It’s not a miracle cure, but every little bit helps, right?
Here’s why you might want to consider pelmet boxes:
- They’re relatively easy to install. You can even make them yourself if you’re a bit handy.
- They come in all sorts of styles, so you can find one that matches your decor.
- They can help reduce your energy bills by minimising heat loss.
It’s worth checking for budgeting tips to see if you can afford to get them installed.
8. Carpet
Right, let’s talk about carpet. It’s not just about comfort under your feet, although that’s a definite bonus on a chilly morning. Carpet actually plays a decent role in keeping your house warmer, and it’s something a lot of folks overlook when trying to cut down on heating bills.
Carpet acts as an insulator, trapping warm air and preventing it from escaping through the floor. Think of it like a big, fluffy blanket for your house. Hard floors, like tiles or wood, can feel freezing in winter because they don’t hold onto heat. Carpet, on the other hand, provides a layer of insulation that makes a noticeable difference.
Here’s a few things to consider:
- Carpet Type: Some carpets are better insulators than others. Thick, plush carpets with dense fibres will generally provide more insulation than thinner, low-pile options. Wool carpets are particularly good at trapping heat, but they can be a bit pricier. A good synthetic carpet can still do a solid job, though.
- Underlay: Don’t skimp on the underlay! A good quality underlay can significantly boost the insulation provided by your carpet. It adds an extra layer of padding and helps to prevent heat loss through the floor. Think of it as the difference between a thin doona and a proper winter quilt.
- Gaps and Edges: Make sure your carpet is properly installed and fits snugly against the walls. Gaps around the edges can let cold air in and negate some of the benefits of having carpet in the first place. Skirting boards are your friend here.
I remember when we replaced the old lino in the living room with carpet. The difference was amazing! The room felt noticeably warmer, and we didn’t have to crank up the heater as much. It was a simple change, but it made a real difference to the comfort of the house.
If you’re thinking about underfloor heating wattage, carpet can actually help to improve its efficiency. The carpet will trap the heat generated by the system, preventing it from escaping and allowing you to run the system at a lower setting. It’s a win-win situation!
9. Soapstone Warmers
Ever heard of soapstone warmers? They’re a bit old-school, but surprisingly effective for cheap heating. Basically, you heat up a chunk of soapstone and it slowly releases that heat over several hours. Think of it like a slow-release heat bomb – in a good way!
Soapstone warmers are a safe and cheap way to heat a house without gas or electricity.
How do you heat them up? Well, traditionally, they were warmed in a fireplace. But if you don’t have one, no worries! You can heat it in the oven, or even leave it out in the sun on a bright day. Once it’s nice and toasty, bring it inside and let it do its thing. You can even use it as a bed warmer before you jump into bed.
It’s a pretty simple concept, but it works. Plus, there’s something comforting about having a warm stone radiating heat in your room. It’s a bit like having a pet rock, but one that actually serves a purpose!
Here’s a quick rundown of why soapstone warmers are worth considering:
- They’re cheap to run (basically free after the initial cost of the stone).
- They’re safe, with no open flames or electrical hazards.
- They provide a gentle, consistent heat.
- They’re a bit of a novelty, which is always fun.
So, if you’re looking for a cheap way to heat a house this winter, give soapstone warmers a go. You might be surprised at how well they work.
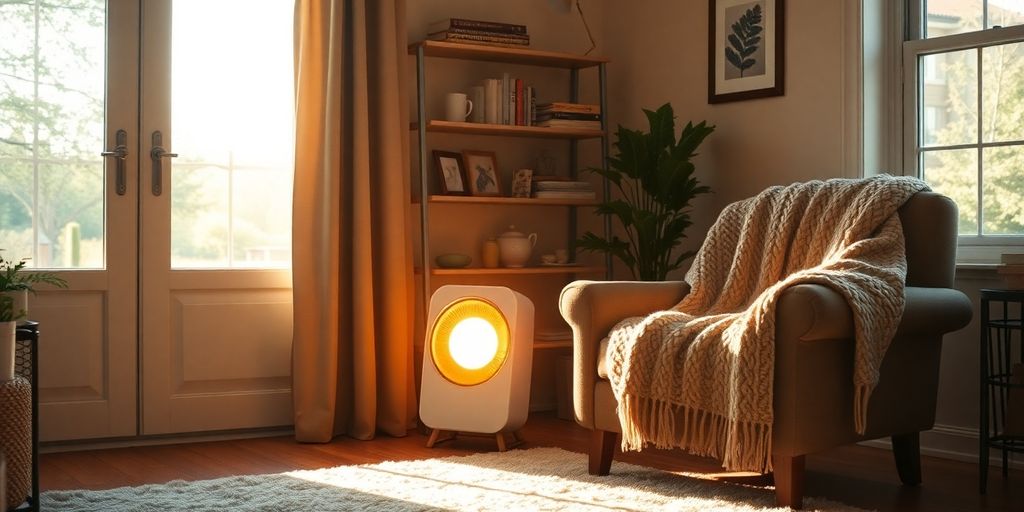
10. Infrared Heaters
Infrared heaters are interesting because they don’t heat the air; they heat objects and people directly. This can be a real advantage if you only need to heat a specific area, like where you’re sitting. Instead of cranking up the central heating and wasting energy on empty rooms, you can focus the heat where it’s needed. This targeted heating can translate to some serious savings on your power bill.
Think of it like sunshine – you feel the warmth even on a cold day because the sun’s rays are heating you, not necessarily the air around you. Infrared heaters work on a similar principle.
One thing to keep in mind is that infrared heaters are most effective in smaller, enclosed spaces. If you’re trying to heat a large, draughty room, you might not get the same level of comfort.
Here’s a quick rundown of some pros and cons:
- Pros:
- Efficient for spot heating.
- Fast heat-up time.
- Can be more energy-efficient than heating an entire room.
- Cons:
- Not ideal for large, open spaces.
- Only heats objects in direct line of sight.
- Can be a bit pricey upfront.
When shopping for an infrared heater, pay attention to the wattage. A higher wattage means more heat, but also more power consumption. Consider the size of the area you want to heat and choose a model that’s appropriately sized. Also, check for safety features like tip-over protection and overheat shut-off. It’s always better to be safe than sorry, especially when dealing with electrical appliances. If you are looking for efficiency stars, make sure to check the energy rating label.
Wrapping It Up: Stay Warm, Save Bucks!
So, there you have it, folks! Keeping your place toasty warm in winter doesn’t have to cost an arm and a leg. We’ve gone through a bunch of ideas, from sealing up those sneaky draughts to making the most of your air con. It’s all about being a bit clever and thinking outside the box. Every little bit helps, right? So, give some of these tips a go, and you’ll be surprised how much warmer your home feels without emptying your wallet. Stay snug, Australia!
Frequently Asked Questions
What’s the cheapest way to warm up my place?
Reverse-cycle air conditioners are generally the most cost-effective way to heat your home. Even the basic models are usually cheaper to run than other types of heaters.
Which heater should I avoid using?
Portable blow heaters are usually the worst for your wallet. They might seem cheap to buy, but they chew through a lot of electricity, making your power bills skyrocket.
How can I make my house warmer without spending a cent?
You can warm your home for free by letting in the sunshine, wearing extra layers or using blankets, and stopping cold air from sneaking in through gaps around doors and windows.
What’s the best way to heat a single room?
To heat just one room, close all the doors to keep the warmth in. Then, turn on your heater. A small space heater works well for a single room, or you can use your home’s main heating system if it has one.
Why are Aussie homes so hard to keep warm?
Australian homes often aren’t built with much insulation, so they lose heat easily. This means any draughts or gaps let cold air in, making it hard and expensive to stay warm.
What if my electricity bill is really high from heating?
If your power bills are huge because you’re running a heater all day, it’s a big sign your home isn’t very good at keeping heat in. You might need to look at improving your home’s insulation or sealing up draughts.